
Getting a new phone is exciting right up until it’s time to move everything over.
Photos and apps usually transfer without much trouble, but many people hesitate when it comes to the SIM card. Questions about losing a phone number, damaging the card, or activating service on the new device are all common concerns.
Fortunately, transfer SIM card to new phone is usually a quick process that takes only a few minutes when the devices are compatible.
This guide walks through the transfer process step by step, covers common problems that can pop up along the way, and explains why more users are starting to switch to eSIM instead.
1. Before You Pop the SIM Tray: 4 Things to Check First
Moving a SIM card between phones is usually quick and painless. Most problems happen because people skip a few basic checks before they start.
Before removing the SIM card, take a minute to confirm the following:
- The new phone is unlocked. A SIM card may not work if the device is locked to a different carrier.
- Both phones support the same SIM size. Most modern devices use a nano SIM, but it’s worth double-checking before making the swap.
- Important data has been backed up. Your phone number moves with the SIM card, but photos, contacts, messages, and apps usually do not.
- The new phone doesn’t support an easier eSIM transfer. Many recent devices allow you to move service digitally without touching a SIM tray at all.
A quick check now can save a lot of troubleshooting later.

2. How to Transfer SIM Card to New Phone Step by Step
Once you’ve confirmed everything is compatible, the actual transfer only takes a few minutes.
The key is moving carefully and verifying that service works properly before putting the old phone away.
Step 1: Power Down Both Devices
Start by turning off both phones completely.
While many modern devices can detect a SIM card without being powered down first, shutting both phones off reduces the chance of connection issues during the transfer. It also helps ensure the new device recognizes the SIM properly when it starts up.
Once both phones are powered off, you’re ready to remove the SIM card from the old device.
Step 2: Eject the SIM Tray Carefully
Locate the SIM tray on your current phone and use a SIM eject tool or a small paper clip to open it.
The tray should slide out easily with gentle pressure. If it doesn’t, avoid forcing it. SIM trays are designed to be sturdy, but pushing too hard can damage the mechanism.
After removing the tray, take out the SIM card and place it somewhere safe. You’ll need it again in just a moment when setting up the new phone.
Step 3: Confirm SIM Size Compatibility
Before inserting the SIM card into the new phone, take a moment to compare the card and tray.
Most smartphones released in recent years use nano SIM cards, but there are still exceptions. If the card doesn’t fit properly, don’t try to force it into place.
If you discover a size mismatch, contact your carrier about a replacement SIM or consider switching to eSIM if the new phone supports it.
Step 4: Insert and Boot the New Phone
With compatibility confirmed, place the SIM card into the new phone’s tray using the correct orientation.
Carefully slide the tray back into the device and power the phone on. The carrier name may appear within a few seconds, although some phones can take a minute or two to establish a connection.
At this stage, seeing signal bars is a good sign, but it’s still worth confirming that everything is working correctly.
Step 5: Verify Service Activation
Before calling the transfer complete, run a quick test.
Try making a phone call, sending a text message, and opening a website using mobile data rather than Wi-Fi. These simple checks confirm that your number, messaging service, and data connection all moved successfully.
If everything works as expected, the transfer is complete and you’re ready to start using the new device.
3. How to Transfer an eSIM Instead (Easier and Faster)
Physical SIM cards still work well, but many newer phones have made switching devices even simpler through eSIM technology.
Instead of moving a piece of plastic from one phone to another, you can often transfer service digitally. Depending on your carrier and device, the entire process may take only a few minutes.
iPhone Quick Transfer
Apple has made eSIM transfers surprisingly straightforward.
When setting up a new iPhone, you’ll often see an option to move your cellular plan directly from your old device. As long as both phones are nearby and signed into the appropriate accounts, the transfer can usually be completed on-screen without contacting the carrier.
For many iPhone users, this has become the easiest way to move service to a new device.
Carrier App Re-Activation
Many carriers now allow customers to manage eSIM transfers through their mobile apps.
After signing in, you can typically select the line you want to move, choose the new phone, and follow the activation prompts. The carrier then downloads a new eSIM profile directly to the device.
This approach is particularly convenient because it can often be completed from home without waiting for a replacement SIM card to arrive.
QR Code Method
Some carriers still use QR codes as their primary eSIM activation method.
In this case, the carrier provides a QR code that contains the information needed to download the cellular plan. After opening the eSIM settings on your new phone, simply scan the code and follow the activation instructions.
The process usually takes only a few minutes and eliminates the need to handle a physical SIM card altogether.
Read more: SIM Swapping Explained: How Scammers Steal Your Number and How to Stop Them
4. Common SIM Transfer Problems and Quick Fixes
Most SIM transfers go smoothly, but it’s not unusual to run into a few hiccups along the way. Fortunately, many of the most common issues can be resolved in just a few minutes.
| Problem | Possible Cause | Quick Fix |
| No signal after inserting the SIM | Device hasn’t registered on the network yet | Restart the phone and wait a few minutes |
| “SIM Not Supported” message | Phone is carrier locked | Contact the carrier or verify device compatibility |
| Mobile data isn’t working | Carrier settings need updating | Check for carrier settings updates and restart the device |
| Calls and texts work, but data doesn’t | APN settings are missing or incorrect | Contact the carrier for the correct settings |
| SIM card not detected | SIM card isn’t seated properly | Remove and reinsert the SIM card carefully |
| Old SIM doesn’t fit the new phone | Different SIM size requirements | Request a replacement SIM or activate eSIM if available |
If basic troubleshooting doesn’t solve the problem, contacting your carrier is usually the fastest way to confirm whether the issue is related to activation, account settings, or device compatibility.
5. Why This Could Be the Last Physical SIM Move You Ever Make
After transferring a SIM card a few times, many people start asking the same question: do I really need to keep doing this?
That’s one reason eSIM adoption has accelerated over the last few years. Instead of moving a physical card every time you upgrade devices, service can often be transferred digitally in just a few taps.
Why eSIM Eliminates SIM Tray Headaches
Traditional SIM cards aren’t particularly difficult to use, but they do create a few inconveniences.
There’s always the possibility of losing the card, damaging the tray, using the wrong SIM size, or waiting for a replacement to arrive in the mail.
eSIM removes those obstacles by storing the cellular profile directly on the device. Activating a new phone often becomes a software process rather than a hardware one.
For people who upgrade phones frequently, that can save both time and frustration.
Where Eligible Users Get a Free Plan With Zero Hassle
AirTalk Wireless is a wireless service provider that participates in the federal Lifeline program, helping eligible individuals and households access affordable phone service.
Depending on eligibility, location, and current offers, users may qualify for free or low-cost service with monthly talk, text, and data benefits. For compatible devices, AirTalk supports eSIM activation, which means users may be able to activate service without waiting for a physical SIM card.
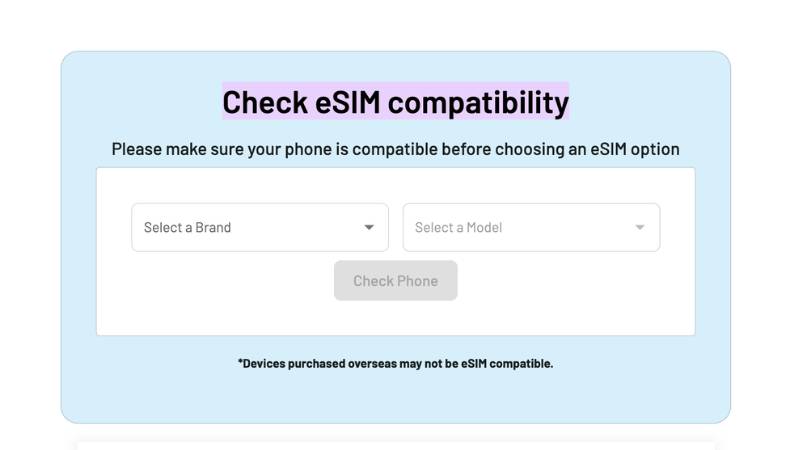
To make setup easier, AirTalk also provides an eSIM Compatibility Checker that allows users to verify whether a device supports eSIM before applying.
For users who are tired of moving SIM cards every time they upgrade phones, eSIM can offer a simpler way to stay connected.
6. FAQs
Will I lose my phone number when I transfer my SIM card?
No. In most cases, your phone number remains associated with the SIM card or carrier account, so moving the SIM to a compatible device does not change the number.
Can I move a SIM card between different phone brands?
Usually yes. As long as the phone is unlocked and compatible with the carrier’s network, a SIM card can often be moved between devices from different manufacturers.
Do I need to contact my carrier before transferring a SIM card?
Not usually. Most physical SIM transfers can be completed without contacting the carrier. However, some eSIM transfers or carrier-specific devices may require additional activation steps.
What happens if my new phone only supports eSIM?
If the new device doesn’t have a physical SIM slot, you’ll need to move the line to eSIM. Most carriers can help transfer your existing number and service digitally.
7. Conclusion
Getting a new phone doesn’t have to mean getting a new phone number. In most situations, transferring service is a simple process that takes only a few minutes once you’ve confirmed compatibility between the devices.
Hopefully, this guide has shown you exactly how to transfer SIM card to new phone without running into the most common mistakes. Whether you’re moving a physical SIM card or switching to eSIM, taking a few extra minutes to verify everything is working properly can save a lot of frustration later on.