
How to install SIM card in Android phone is one of the first things many people need to learn when setting up a new device. While the process is usually simple, inserting the SIM incorrectly can lead to activation problems, poor connectivity, or a phone that doesn’t recognize the card at all.
Fortunately, most Android phones use a very similar SIM installation process. In this guide, we’ll walk through each step, cover differences between popular Android brands, and explain what to do if your SIM card isn’t detected after installation.
1. Before SIM Card Installation, Here’s What to Remember
Before learning how to install sim card in Android phone, take a moment to confirm that you’re using the correct SIM size for your phone.
Most modern Android devices use a nano-SIM, but older models may require a different format.
It’s also a good idea to power off the phone before removing or inserting a SIM card. While many devices can recognize a SIM without being turned off, shutting down the phone reduces the risk of reading errors during installation.
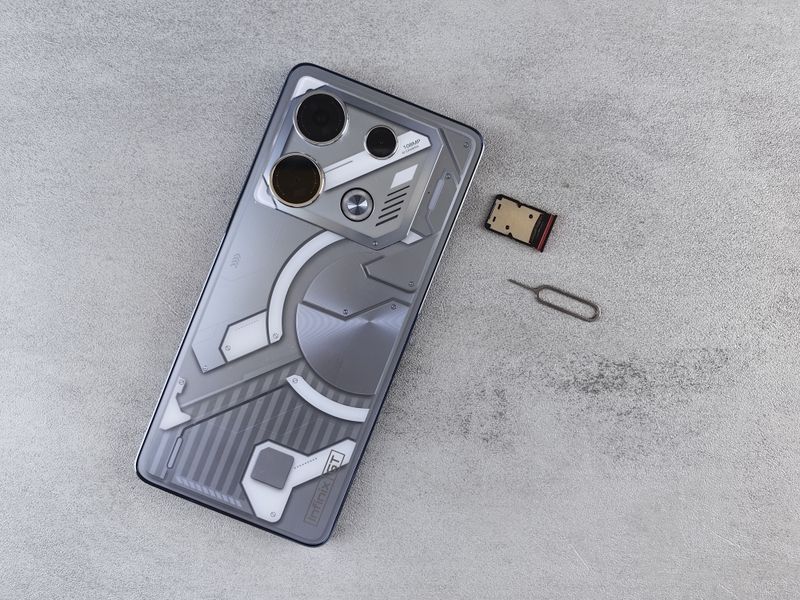
Finally, make sure you have a SIM eject tool or a small paperclip available. Most Android phones use a SIM tray that must be opened before the card can be inserted.
2. How to Install SIM Card in Android Phone
Installing a SIM card usually takes only a few minutes. Follow the steps below to make sure the card is inserted correctly.
Step 1: Power Off Your Phone
Press and hold the power button, then turn the device off completely.
Waiting a few seconds after shutdown can help ensure the phone is no longer accessing the SIM card slot.
Step 2: Locate the SIM Tray
Look around the edges of the phone for a small tray with a pinhole.
Depending on the model, the SIM tray may be located on the side, top, or bottom edge of the device.
Step 3: Use the SIM Eject Tool
Insert the SIM eject tool into the small hole beside the tray.
Apply gentle pressure until the tray pops out. Avoid forcing the tray open, as excessive pressure can damage the mechanism.
Step 4: Place the SIM Card in the Tray
Position the SIM card in the tray according to the shape of the cut corner.
The card should sit flat and securely within the tray. If it doesn’t fit properly, double-check that you’re using the correct SIM size rather than trying to force it into place.
Step 5: Power On and Activate
Carefully slide the tray back into the phone and turn the device on.
Most Android phones will detect the SIM automatically. Within a few moments, you should see signal bars and the carrier name appear on the screen. If activation is required, follow any instructions provided by your carrier.
3. How to Install a SIM Card by Phone Type
Although the basic process is similar across Android devices, SIM tray locations and setup screens can vary slightly by manufacturer.
Samsung Galaxy
Most Samsung Galaxy phones place the SIM tray along the top or side edge of the device.
After inserting the SIM card and restarting the phone, Samsung typically displays a notification once the network is detected. If you’re using a dual-SIM Galaxy model, make sure each card is seated in the correct slot before reinserting the tray.
Google Pixel
Google Pixel devices usually locate the SIM tray along the lower side edge of the phone.
Once the SIM is inserted, Pixel phones generally recognize the card automatically and guide you through any activation steps that may be required.
Motorola, OnePlus, and Others
Motorola, OnePlus, and many other Android brands follow a similar process. The SIM tray is typically located on one side of the device and can be opened using the included eject tool.
If you’re unsure where the tray is located, checking the user manual or manufacturer’s support page is often faster than attempting to remove the wrong component.
4. Common Installation Mistakes to Avoid
When learning how to install SIM card in Android phone, avoiding a few common mistakes can help prevent detection and connectivity issues.
- Using the Wrong SIM Card Size
Most modern Android phones use a nano-SIM card. Attempting to insert a larger SIM card or an improperly cut SIM can damage the card tray or prevent the phone from recognizing the SIM.
- Inserting the SIM Card Incorrectly
Make sure the SIM card is positioned correctly before inserting the tray. The cut corner should align with the tray design, and the card should sit securely in place.
- Forcing the SIM Tray Into the Phone
If the tray does not slide in smoothly, remove it and check the SIM card position. Applying excessive force can damage the tray, SIM card, or internal components.
- Not Powering Off the Device First
While many Android phones support hot-swapping SIM cards, some manufacturers recommend turning off the device before inserting or removing a SIM card to avoid potential detection issues.
5. What to Do If Your SIM Card Isn’t Detected
If your Android phone doesn’t recognize the SIM card after installation, start by restarting the device. Many phones automatically scan for a SIM card during startup and may detect it after a reboot.
Next, remove the SIM tray and check that the card is seated properly. Dust, debris, or a slightly misaligned SIM can sometimes prevent a successful connection.
If the problem continues, test the SIM card in another compatible phone. This can help determine whether the issue is with the SIM card itself or the Android device.
When the SIM still isn’t detected, contact your carrier to confirm that the card is active and associated with your account. In some cases, a replacement SIM card may be required.
>>> Read more: How to Delete eSIM on Samsung: A Simple Guide for Every User
6. FAQs
What size SIM card do most Android phones use?
Most modern Android phones use a nano-SIM card, although some older models may use a micro-SIM.
Do I need to turn off my phone before inserting a SIM card?
It’s recommended. Powering off the device helps avoid potential reading or activation issues during installation.
Can I install a SIM card without a SIM eject tool?
Yes. A small paperclip often works, provided it fits the eject hole and is used carefully.
Why does my Android phone say “No SIM” after installation?
The SIM card may be inserted incorrectly, inactive, damaged, or incompatible with the device.
How long does SIM activation take?
Many SIM cards activate within minutes, though some carriers may require additional time or manual activation steps.
7. Conclusion
Knowing how to install SIM card in Android phone can make setting up a new device much easier. By using the correct SIM size, inserting it properly, and following the activation steps recommended by your carrier, most users can get connected in just a few minutes.
If the phone doesn’t recognize the SIM right away, a quick check of the installation and activation status will often resolve the issue.