
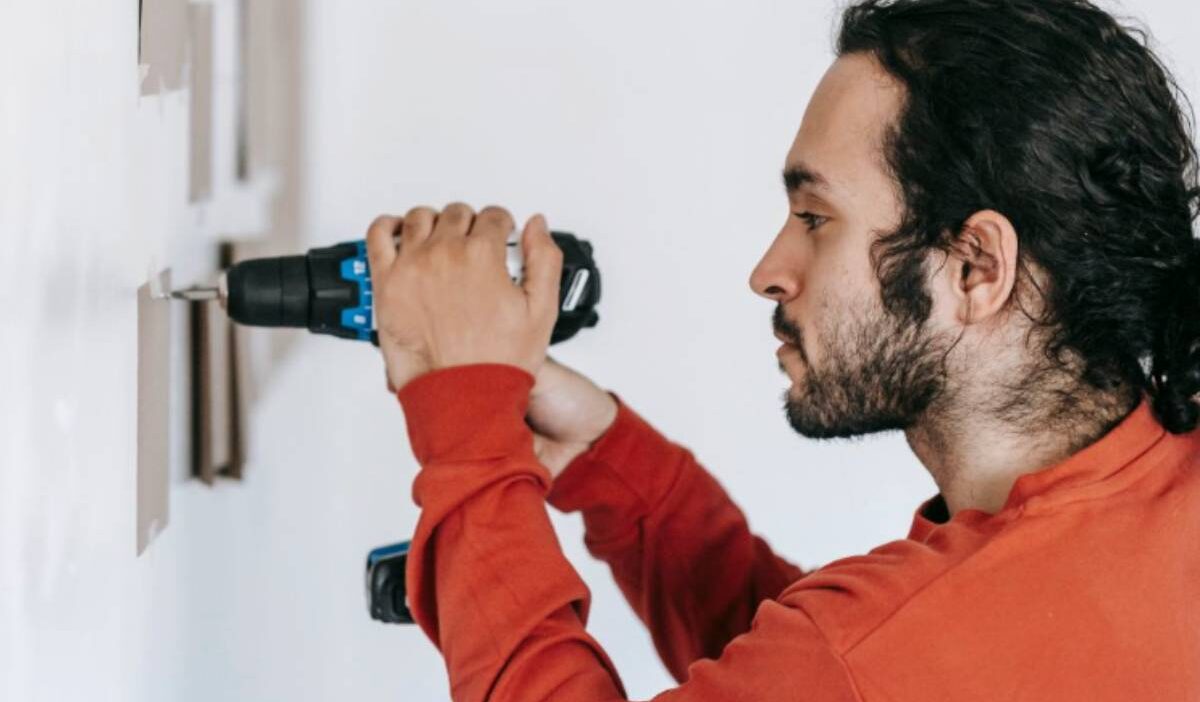
A hole in the wall can make an otherwise clean room look unfinished, whether it came from a picture frame, a door handle, or an accidental bump while moving furniture.
How to patch a hole in the wall? It depends largely on the size of the damage and the type of wall you’re working with.
With the right materials and a few simple techniques, you can restore the surface, help the repair blend in with the surrounding paint, and make it difficult to tell a hole was ever there.
1. Before You Patch a Hole in the Wall
Reaching for a tub of spackle might seem like the obvious first step, but a better repair starts a few minutes earlier.
Before deciding how to patch up a hole in the wall, here’s what to check first.
Identify the Type of Wall
Not every wall is built the same way. Most modern homes use drywall, while older properties may have traditional plaster walls that require a different repair approach.
Take a close look at the damaged area before buying supplies. Using products designed for drywall on plaster, or vice versa, can make the repair less durable and much harder to blend with the surrounding surface.
Measure the Size of the Hole
The size of the damage determines almost everything that comes next.
A tiny nail hole usually needs nothing more than a bit of spackle, while a fist-sized opening may require a mesh patch or a drywall repair kit for proper support.
Spending a minute measuring the hole helps you avoid buying unnecessary materials or discovering halfway through the repair that you’re missing an essential item.
Gather the Right Tools and Materials
Having everything within reach makes the job much easier once you begin.
For most repairs, you’ll need spackle or joint compound, a putty knife, sandpaper, a sanding block, primer, matching paint, and a clean cloth to remove dust. Larger repairs may also require a self-adhesive mesh patch or a drywall repair kit.
A complete setup saves time and allows you to move from patching to painting without unnecessary interruptions.
2. How to Patch a Hole in the Wall
The repair itself doesn’t have to be complicated. The key is matching your method to the size of the damage rather than treating every hole the same way.
Whether you’re learning how to patch a small hole in the wall or dealing with more noticeable damage, working in thin layers and allowing each one to dry will usually produce the cleanest result.
Small Nail and Screw Holes
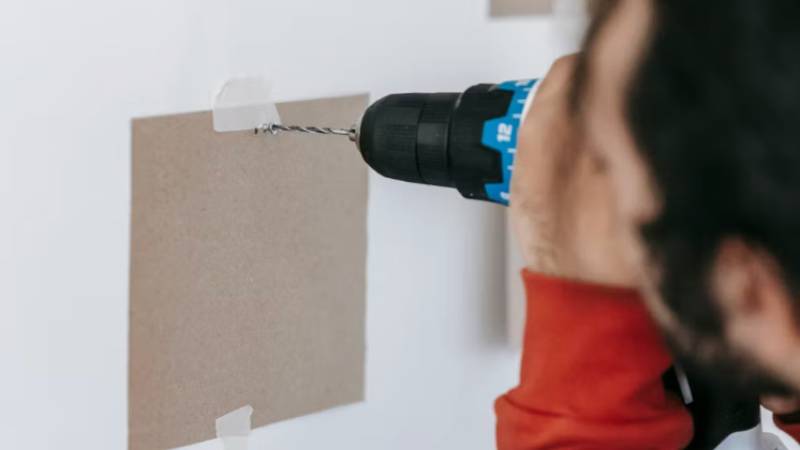
Tiny holes left behind by nails, screws, or wall anchors are among the easiest repairs.
Fill the opening with a small amount of spackle using a putty knife, pressing it firmly into the hole before scraping away the excess. Once the filler has dried completely, sand the area lightly until it’s flush with the wall and ready for primer and paint.
Medium Holes in Drywall
Openings several inches wide need a little more reinforcement than simple spackle can provide.
Apply joint compound across the damaged area, pressing it into the edges before smoothing the surface with a wide putty knife. Depending on the depth of the hole, two or three thin coats may be needed, allowing each layer to dry before adding the next.
Rushing this step often leads to visible ridges or cracking after the paint goes on.
Large Holes That Need a Patch Kit
When the damage is too large for filler alone, a drywall patch kit offers a stronger and longer-lasting solution.
Start by placing the self-adhesive mesh patch over the opening. Cover it with joint compound, feathering the edges well beyond the patch so the transition gradually blends into the surrounding wall.
After the compound dries, sand the area smooth and repeat if necessary until the repair is no longer noticeable.
>> Also read: How to Clean a Microwave: 7 Easy Methods That Remove Grease and Odors
3. How to Make the Repair Blend In
Even a well-patched wall can stand out if the finishing work is rushed. If you’re wondering how to patch a large hole in the wall without leaving an obvious repair, the final steps are just as important as filling the hole itself.
Sand the Surface Smooth
Once the patch has fully dried, sand it gently until it feels level with the surrounding wall.
Run your hand across the area as well as looking at it under natural light. Small ridges and rough spots are often easier to feel than to see, and smoothing them now will make painting much easier later.
Apply Primer
Fresh joint compound absorbs paint differently than the surrounding wall.
Applying a coat of primer seals the repaired area, creating a more even surface and helping the finish coat dry with a consistent appearance. Skipping primer often leaves a dull patch that’s visible even after several coats of paint.
Paint to Match the Existing Wall
The final coat is what brings the repair together.
Whenever possible, use the same paint color and finish already on the wall. Feather the paint outward with a small roller or brush instead of stopping exactly at the repaired area.
Blending into the surrounding surface creates a much more natural result and makes it difficult to tell where the damage once was.
4. Common Mistakes to Avoid When Patching a Wall
Even a simple repair can end up looking uneven if a few basic steps are overlooked. Most patching problems aren’t caused by using the wrong products.
They’re usually the result of rushing the job.
Using Too Much Spackle
It’s tempting to fill the entire hole in one pass, but applying too much spackle often creates more work later.
Thick layers take longer to dry and are more likely to shrink or crack as they cure. Instead, apply thin coats and build up the surface gradually. While it requires a little more patience, the final result is usually much smoother and easier to sand.
Skipping Sanding
A patch may look smooth at first glance, but even small ridges can become obvious once paint is applied.
After the filler has dried completely, sand the repaired area until it blends seamlessly with the surrounding wall. Running your hand across the surface is a simple way to spot uneven areas that aren’t always visible to the eye.
Painting Before the Patch Is Dry
Fresh paint won’t hide a repair that hasn’t fully cured. In fact, it can make imperfections stand out even more.
Always follow the drying time recommended for your spackle or joint compound before applying primer and paint. Waiting a little longer now is much easier than scraping everything off and starting over.
5. FAQs
How big of a hole can you patch in a wall?
Small and medium-sized holes can usually be repaired with spackle or joint compound. Larger openings, typically those wider than a few inches, often require a mesh patch or a drywall repair kit to provide additional support before the surface is finished.
What is the best material to patch a wall?
It depends on the size of the damage. Spackle works well for nail holes and small dents, while joint compound is better suited for larger drywall repairs. For significant damage, combining a mesh patch with joint compound generally provides the strongest and most durable repair.
How do you patch a hole if the drywall isn’t thick enough?
When there’s not enough drywall around the damaged area to support filler alone, install a self-adhesive mesh patch or use a drywall repair kit before applying joint compound. This reinforces the repair and helps prevent cracking over time.
How much does it cost to patch a hole in the wall?
DIY repairs are relatively inexpensive. Basic supplies such as spackle, sandpaper, and a putty knife often cost between $10 and $30, while drywall patch kits typically range from $10 to $20. Hiring a professional usually costs $150 to $500 or more, depending on the size of the damage, wall type, and local labor rates.
6. Conclusion
A damaged wall doesn’t always require a professional repair. With the right materials, a little patience, and careful finishing, most holes can be repaired in just a few steps.
How to patch a hole in the wall ultimately comes down to matching the repair method to the size of the damage and taking the time to prepare, patch, sand, and paint properly. Done correctly, the finished surface should blend in so well that it’s hard to tell a repair was ever needed.