eSIM has quickly become a standard feature on modern smartphones, especially iPhones. It allows users to activate a mobile plan without inserting a physical SIM card, making setup faster and more flexible.
But when did this shift actually begin? If you’ve ever wondered about the first iPhone with eSIM, this guide will walk you through where it started, how it evolved, and what it means for you today.
1. What Was the First iPhone with eSIM?
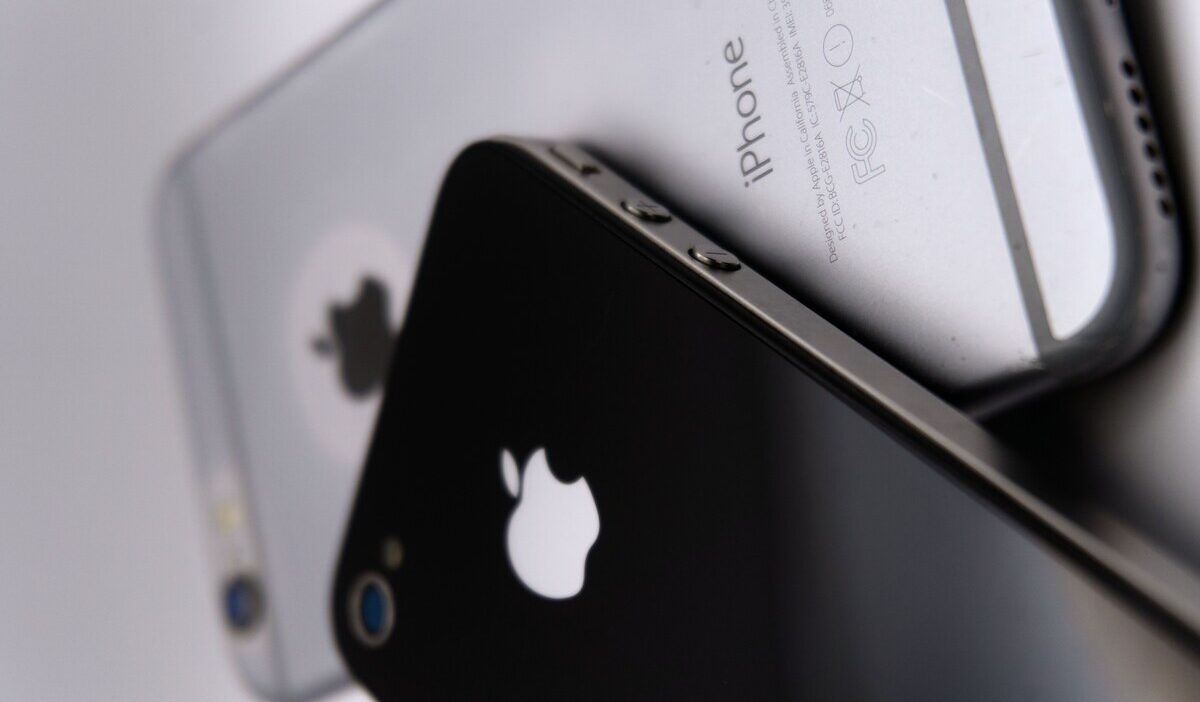
Apple introduced eSIM for the first time on the iPhone XS, along with the iPhone XS Max and iPhone XR, all released in 2018.
These models marked a major shift in how iPhones handled connectivity. For the first time, Apple introduced Dual SIM functionality, combining one physical SIM card with one eSIM.
This allowed users to manage two phone numbers on a single device, something that was previously difficult without carrying two phones.
At the time, eSIM was still relatively new, and not all carriers supported it. However, Apple’s move helped push the technology forward.
By including eSIM in these models, Apple Inc. signaled that digital SIM technology was going to play a bigger role in the future of mobile connectivity.
2. iPhone eSIM Timeline: How It Evolved Over Time
After the initial launch in 2018, eSIM quickly became more common across iPhone models. Here’s a closer look at how it evolved over time:
- 2018: The Beginning
The iPhone XS, iPhone XS Max, and iPhone XR introduced eSIM alongside a physical SIM. This marked the starting point of Apple’s transition toward digital SIM technology.
- 2019-2021: eSIM Becomes Standard
With the release of the iPhone 11, iPhone 12 series, and iPhone SE (2nd generation), eSIM support became a standard feature across all new iPhones. At the same time, more carriers worldwide began supporting eSIM, making it easier for everyday users to adopt.
- 2022-Present: eSIM-Only iPhones (U.S.)
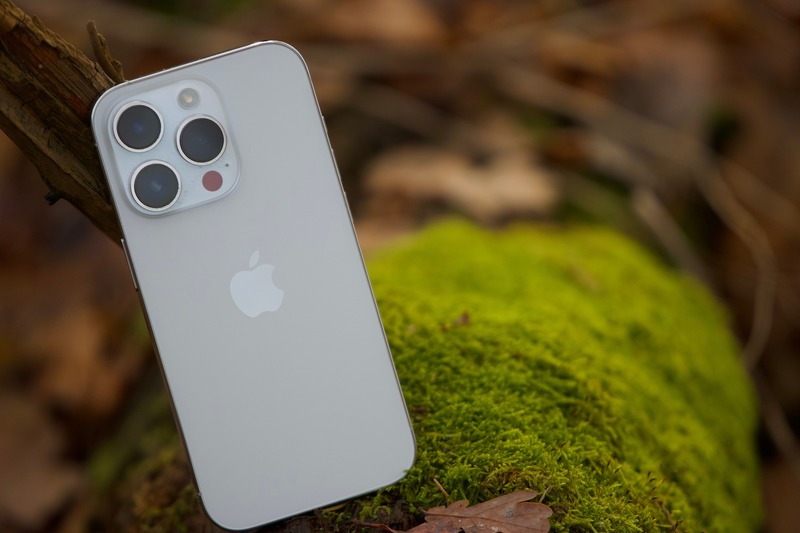
A major turning point came with the iPhone 14 lineup in the United States. These models became the first iPhone with eSIM only, as Apple removed the physical SIM tray entirely.
This decision reflects a bigger shift in the industry. By removing the SIM tray, Apple Inc. is moving toward a fully digital experience. Users can switch carriers, activate plans, and manage connections without relying on physical SIM cards.
>>> Also read: Does iPhone X Support eSIM? The Honest Answer and What to Do Instead
3. Why Apple Introduced eSIM (and What Changed After)
Removing the SIM tray reflects a broader shift in how iPhones are designed, with a stronger focus on simplicity and flexibility for users.
This change didn’t happen overnight. It builds on the transition that started with the first iPhone with eSIM and continued through newer generations.
Here’s what that actually means in practice:
- Use two numbers on one device (Dual SIM made simple)
One of the biggest advantages of eSIM is that you don’t need two physical SIM cards anymore. You can keep both a personal and a work number on the same iPhone, or even use two different carriers at once. This makes it easier to manage calls, messages, and data without constantly swapping SIMs.
- Switching carriers becomes faster and easier
You no longer need to remove or replace a physical SIM card. Everything can be done digitally, often in just a few taps. This is especially helpful if you want to change plans or providers without waiting.
- Activating a plan is more convenient
Instead of visiting a store or waiting for a SIM card to arrive, you can activate your plan instantly by scanning a QR code or using a carrier app.
- Traveling is much more flexible
When you’re abroad, you can quickly add a local plan without swapping SIM cards. This saves time and reduces the risk of losing your original SIM.
- Less reliance on physical components
Without a SIM tray, there’s one less part that can be damaged, lost, or worn out over time.
- More room for internal improvements
Removing the SIM tray frees up space inside the device. This allows manufacturers to improve other components, like the battery or internal design efficiency.
Overall, this move reflects a clear direction: smartphones are becoming more digital, more streamlined, and easier to manage without the need for physical SIM cards.
4. How to Check If Your iPhone Supports eSIM
If you’re wondering whether your device is compatible, especially after learning about the first iPhone with eSIM, there are a few simple ways to check if your iPhone supports this technology:
- Method 1: Check in Settings
Go to Settings > Cellular. If you see an option like “Add eSIM” or “Add Cellular Plan,” your device supports eSIM.
- Method 2: Check Your iPhone Model
Most iPhones released from 2018 onward (starting with iPhone XS, XS Max, and XR) support eSIM. If you’re using a newer model, there’s a high chance it’s compatible.
- Method 3: Check with Your Carrier”
Even if your device supports eSIM, your carrier must also support it. You can visit your carrier’s website or contact support to confirm compatibility and availability.
Taking a minute to check these details can help you avoid issues when activating a new plan.
5. Free eSIM Plans and Discounted iPhones: What You May Qualify For
If you’re interested in using eSIM but want to keep your monthly costs low, there are programs that can help reduce what you pay.
One of the most widely used options is the Lifeline program. Rather than providing service directly, Lifeline offers a monthly discount on phone or internet plans through approved providers.
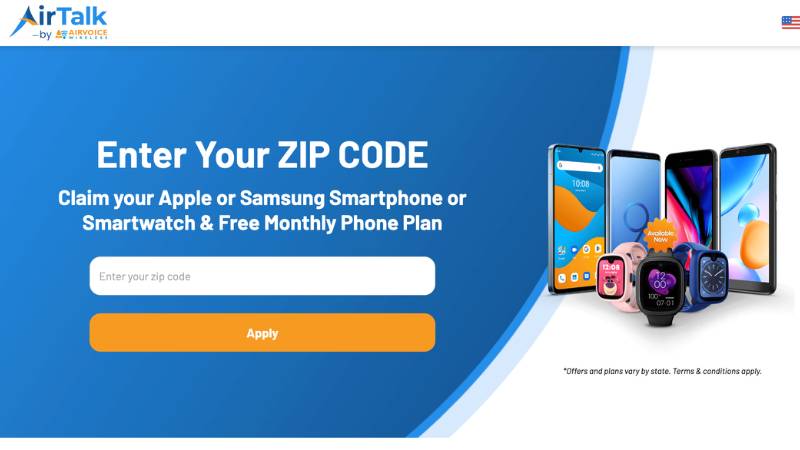
Providers like AirTalk Wireless simplify the process by combining service plans with device options in one place.
Their plans often include features such as unlimited talk and text, along with high-speed data, depending on availability in your area.
In addition to the Lifeline monthly discount, AirTalk may also offer free or discounted smartphones as part of its own promotions.
These device offers are not provided by the government program itself but are extra benefits from the carrier. In some cases, this can include iPhones that support eSIM.
Here’s how to get started:
- Step 1: Check Lifeline eligibility
Eligibility is usually based on income or participation in programs like Medicaid, SNAP, or SSI. If you’re already enrolled in one of these, you may automatically qualify. Check Lifeline’s official guidelines for more information.
- Step 2: Visit AirTalk Wireless website
Enter your ZIP code to confirm service availability in your area before moving forward.
- Step 3: Choose Your Plan Option
Once available, you can select between:
- Service only: Bring your own eSIM-compatible device and activate digitally
- Service + device: Choose from the available smartphones offered by the provider
- Step 4: Submit Your Application
Fill in your personal details, upload any required documents, and complete the application for review.
- Step 5: Get connected
After approval, your Lifeline discount will be applied to your monthly plan. Depending on your selection, you’ll receive either a SIM card or activate your eSIM right away, along with your device if you choose one.
Ready to check your eligibility and explore available plans? Visit AirTalk Wireless to get started today.
Final Thoughts
The journey of eSIM began with the iPhone XS lineup, the first iPhone with eSIM, and has continued to shape today’s move toward a SIM-free future.
As more devices adopt eSIM-only designs, understanding how it works can help you make more confident and flexible choices.
If you’re thinking about switching, start by checking your device compatibility and exploring available plans on AirTalk Wireless. You may even qualify for a free eSIM plan or a discounted iPhone, which can make the transition easier.


